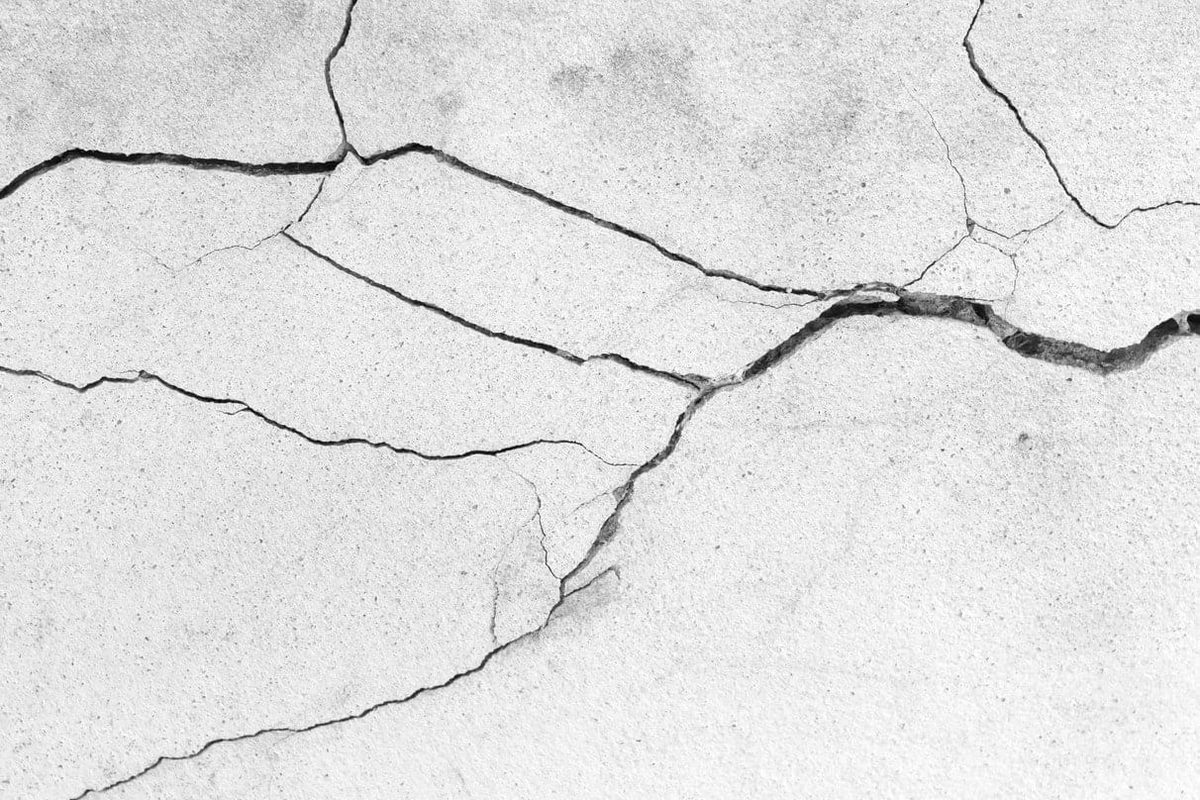
You see them in the garage. Or maybe in the basement. A hairline fracture running across the slab. A jagged tear near the foundation wall. It’s ugly. It’s a tripping hazard. And if you ignore it, it will get worse.
Before you grab a bag of dry mix and start pouring, pause. You need to know why the concrete broke. Concrete doesn’t crack for no reason. If you patch it without addressing the root cause, the crack will just return. Same spot. Same problem.
Here is how you assess the damage, choose the right repair method, and gather the tools you actually need.
Why Concrete Slabs Crack
Concrete is strong under compression but weak under tension. When something pulls on it, it fails. Understanding the why dictates the how.
- Settlement: The ground underneath shifted. Maybe it was wet. Maybe it was dry. The slab moved.
- Freeze-Thaw Cycles: Water got into tiny pores. It froze. It expanded. The pressure split the slab.
- Heavy Loads: You parked a truck with heavy tires where the slab wasn’t designed to take that weight.
- Shrinkage: The concrete dried too fast during the pour. It pulled itself apart while curing.
- Lack of Control Joints: No intentional weak points created for the concrete to crack invisibly. It cracked wherever it wanted.
If the crack is moving, you have a structural issue. A simple patch won’t hold. You need a flexible solution or professional help.
Assessing the Damage
Not all cracks are created equal. Some are cosmetic. Some are serious.
Hairline Cracks (< 1mm)
These are surface-level. They often happen due to shrinkage during curing. They don’t affect the structure. They are annoying to look at, but they don’t need heavy intervention.
Standard Cracks (1-3mm)
These are more common. They might be due to minor settlement or temperature changes. They need a proper fill to prevent water ingress. Water is the enemy of concrete. It seeps in, freezes, and widens the crack.
Wide Cracks (> 3mm)
This is trouble. Wide cracks often indicate significant settling or a broken sub-base. The slab is moving. You cannot just glue this shut. You need to stabilize the area first.
Vertical Cracks (Stair-step)
If the crack looks like a staircase, that’s masonry failure. That’s a different beast entirely. This usually requires a structural engineer.
Tools and Materials You Will Need
You don’t need a commercial crew’s toolkit. You need the right stuff for the job.
- Chisel and Hammer: For widening narrow cracks so the filler has something to grip.
- Wire Brush: To clean out dust and loose debris.
- Vacuum: For final cleanup. Dust kills adhesion.
- Concrete Crack Filler: Look for polyurethane or epoxy for flexible, waterproof seals. For wider cracks, use a concrete patching compound.
- Trowel: For smoothing the surface.
- Safety Gear: Gloves. Goggles. A mask. Concrete dust contains
Identify the crack type
Before you pick up a tool, look closely at your concrete slab. Is it just a surface issue or is the foundation shifting? You need to determine le type de fissure to know if you can patch it yourself or if you need to call in reinforcements.
Hairline cracking is the easiest to deal with. It’s a superficial defect. You’ll see an irregular mesh pattern on the surface. The cracks are short. They don’t go deep. This is never structural.
Then there are microfissures. These are tiny, fine lines. Usually narrower than 0.2 mm. They might be structural or not. The only way to know for sure is to check if they pierce all the way through the slab.
Standard cracks look similar but are more pronounced. They are wider, typically between 0.2 mm and 2 mm. These can be structural. You need to be careful here.
The worst-case scenario involves lézardes or crevasses. These are transverse cracks wider than 2 mm. They are almost always structural. If you have this, stop and think twice.
Find the root cause
Cracks don’t just appear for no reason. Some show up early. Others take years to manifest. If you spot a fresh crack, figure out why it happened before you fix it. Ignoring the cause means the crack will return.
Check these common culprits:
- Poor concrete quality. Too much water was added. The cement ratio was off.
- Installation errors. Pouring in the middle of a hot summer day. Or pouring while it’s raining.
- Structural flaws. No rebar. The slab is too thin. No expansion joints were added. Or they were placed incorrectly.
- Ground issues. Thermal shock. Overloading the area. Soil settlement. Or ground movement.
Monitor the movement
Not sure if the crack is still moving? You can’t just patch it and hope for the best. You need to track its progress.
Place a crack gauge over the fissure. Check it every month. If the measurement stays the same, the crack is dormant. You can repair it safely.
If the gauge shows growth, the crack is active. Do not patch it yet. You must fix the underlying cause first. If you skip this step, your repair will fail. The crack will reappear quickly.
If the crack is evolving rapidly, get a professional opinion. It’s worth the cost to avoid wasting money on a temporary fix.
Fix superficial cracks
You have a slab covered in hairline cracks? Good news. These are cosmetic. They don’t compromise the strength of the structure.
You have two main options to hide them:
- Cover the surface with a new floor covering. Vinyl, laminate, or tile will mask the imperfections.
- Pour a self-leveling underlayment. This is a thin layer, a few millimeters thick. It smooths out the surface and corrects the aesthetic flaws.
Fill micro-cracks
If you have micro-cracks and you’re certain they aren’t structural, you can seal them yourself.
Prepare a repair mortar. Start by widening the cracks slightly with a radial saw. Go a few centimeters deep. Remove all loose debris. Dust is the enemy here.
Wet the crack with water to help the mortar adhere. Then, pack the fissure with the repair mortar. Smooth it out. Let it cure. Done.
You can buy this mortar in bags at any hardware store. It’s ready to use. No mixing required for most brands.
Use epoxy resin
For non-evolving cracks, epoxy resin is a powerful tool. It’s stronger than mortar.
First, widen the crack with a saw. Clean out the debris. Then, cut perpendicular grooves into the concrete every 25 cm. Each groove should be about 10 cm long. This creates mechanical anchors.
Insert metal studs or anchor hooks into these grooves. Fill the entire area with epoxy resin. This synthetic material seals irregularities perfectly. It also provides waterproofing.
For deeper issues, you can inject resin directly into the slab. Drill along the crack line. Inject the resin under pressure.
If you plan to install flooring over this, sprinkle dry silica sand onto the wet resin. This gives the floor covering something to grip. Once dry, sweep away the excess sand.
Handle active structural cracks
Does your slab have evolving structural cracks? Do not try to cover them with simple mortar or resin. It won’t hold. The movement will break the patch.
When dealing with active structural issues, hire a building professional. They have the expertise to diagnose the root cause. They can implement a lasting solution.
If budget is tight, contact multiple contractors. Ask for detailed quotes. Compare the proposed solutions. Don’t settle for a quick patch job. You need a fix that lasts.